Overview
Django Arctic is a framework that simplifies the creation of custom content management systems. It provides a default responsive user interface, extends several of the Django Generic Views with extra features and adds role based authentication.
Why
There are a lot of content management systems in the market that are a good fit for the implementation of many web sites. Most CMS systems make assumptions about the data model for posts, authentication and the administration interface.
There is however a tipping point, where the need to customize a CMS product is extensive enough that it ends up creating a more complex implementation than if the product was developed directly with a generic framework. This is specially true when the core of a CMS needs to be changed.
This is the case that Arctic wants to solve, creation of a CMS with a high degree of customization. Instead of being a ready-to-use CMS, Arctic is a framework that facilitates the construction of content management systems.
Compatibility
- Python 2.7, 3.5, 3.6
- Django 1.8, 1.9, 1.10
Features
- Configurable menu
- Default responsive UI
- Role based authentication with permissions that can be object based.
- Optional tabbed interface to visually link multiple Views.
- ListViews support nested fields, sorting, filtering and linking.
- Forms with default improved widgets for datetime and option fields.
Installation
Arctic is available on PIP:
pip install django-arctic
or directly from Github:
pip install git+ssh://git@github.com/sanoma/django-arctic.git
Getting Started
Setup a python virtualenv and install django-arctic.
In the terminal, create a new Django project:
django-admin startproject arctic_demo
In settings.py:
-
Add
'arctic'toINSTALLED_APPSSetup the database:
DATABASES = { 'default': { 'ENGINE': 'django.db.backends.sqlite3', 'NAME': os.path.join(BASE_DIR, 'db.sqlite3'), } } -
Set the site name:
ARCTIC_SITE_NAME = 'Arctic Hello World'
Back in the terminal:
-
Run the database migrations:
./manage.py migrate -
Create a new admin user:
./manage.py createsuperuser -
Create a helloworld app:
./manage.py startapp hello_world
Edit hello_world/views.py and add the following:
    from arctic.generics import TemplateView

    class HelloWorldView(TemplateView):
        page_title = "Hello"
        template_name = 'hello_world.html'
Create a templates/hello_world.html file with the content:
    {% extends "arctic/base.html" %}

    {% block content %}
        <h3>World!</h3>
    {% endblock %}
In urls.py add the following:
    from django.conf.urls import url
    from arctic.generics import LoginView
    from hello_world.views import HelloWorldView

    urlpatterns = [
        url(r'^login/$', LoginView.as_view(), name='login'),
        url(r'^$', HelloWorldView.as_view(), name='hello_world'),
    ]
In settings.py:
-
Add
hello_worldtoINSTALLED_APPS. -
Setup the side menu:
ARCTIC_MENU = ( ('Hello World', 'hello_world', 'fa-world'), ) -
Set
LOGIN_URLandLOGOUT_URL:LOGIN_URL = LOGOUT_URL = 'login'
Back in terminal, run the project:
./manage.py runserver
In this quick start, it is already noticeable that creating an Arctic project should be very familiar for someone who knows Django. Arctic is basically a superset of Django and extends existing django components, such as authentication, generic views and templates.
Even though this project just displays a text on screen, a few other things are also present:
./manage.py createsuperusercreated a user with theadminrole- The HelloWorldView requires a login
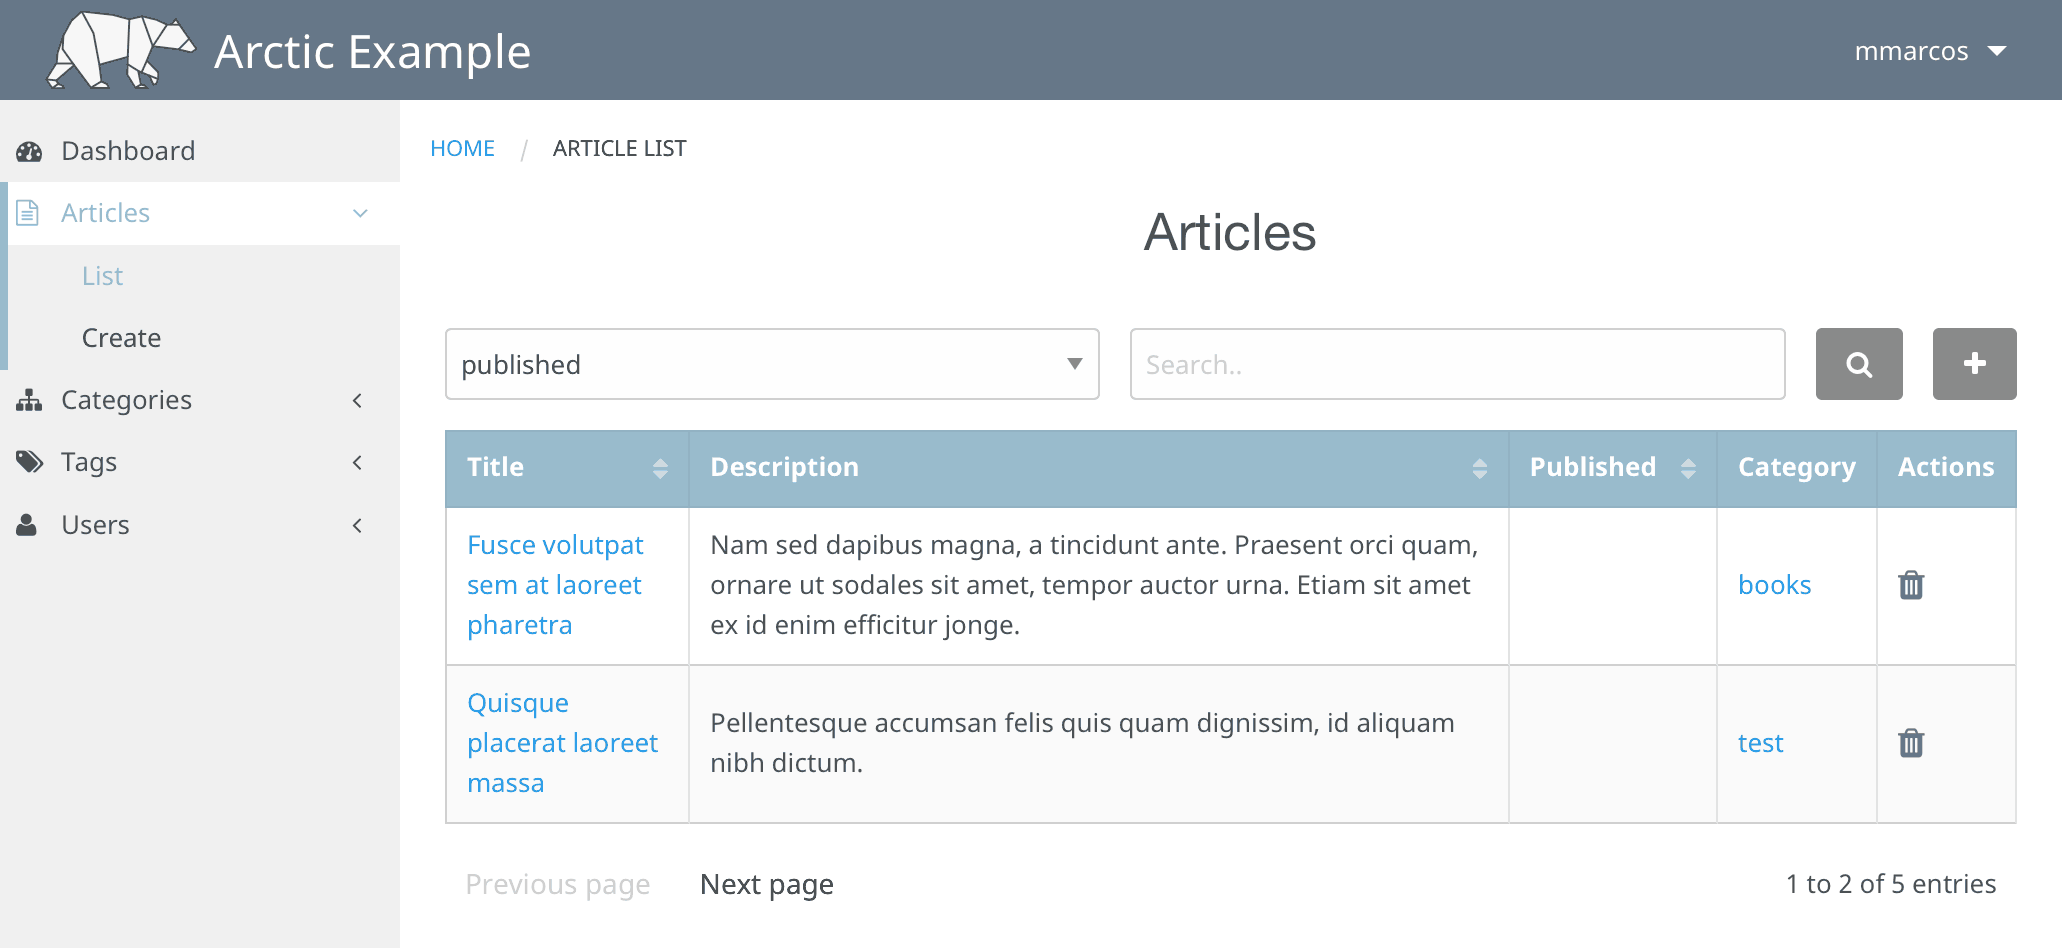
- A default responsive UI is provided with a login screen and a logged in screen with a top bar, content area and configurable side menu.
Within the Arctic project there's an example project with a more extensive
usage of Arctic's features.
The example project has Docker/Docker Compose support (see https://docs.docker.com/compose/install/ for installation.
To build execute the example Docker image, run:
    $ cd example/
    $ docker-compose up
The Docker image will be built and example project should be running on http://localhost:8000/. A demo fixture is loaded automatically. Default login is:
    User: admin
    Password: admin